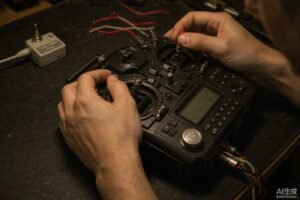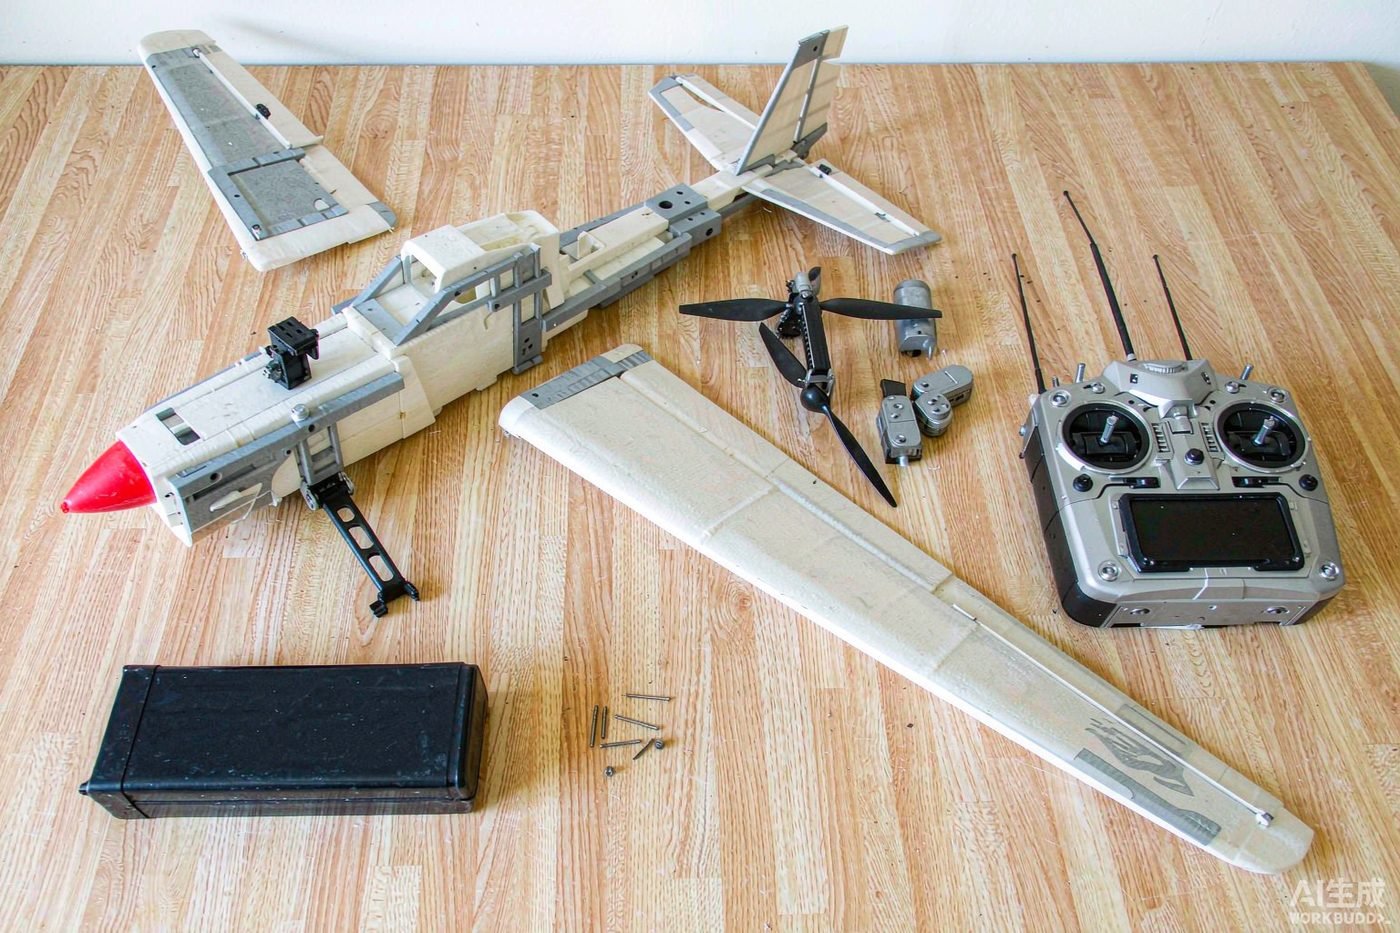

Most modern RC aircraft arrive as a foam kit that goes together in an evening, but “goes together” and “goes together well” are different things. This is the method we use in our own workshop, with the tools worth owning and the mistakes worth avoiding.
Tools worth owning
You can assemble almost any foam model with a short list, and none of it is expensive:
- Foam-safe CA glue (cyanoacrylate) plus activator. Ordinary CA will melt expanded polystyrene – check the label.
- A sharp hobby knife with plenty of spare blades. A blunt blade tears foam and cuts fingers.
- A 1.5 mm and 2.0 mm hex driver set and a small Phillips screwdriver.
- Needle-nose pliers and a pair of side cutters.
- A metal straightedge and a fine permanent marker.
- A digital incidence or pitch gauge – optional, but it makes setting up control throws much more accurate.
- Low-tack masking tape for holding parts while glue cures.
Choosing the right glue
| Material | Use |
| Foam-safe CA | EPO, EPS and Elapor foam. Fast, strong, brittle – great for hinges and joints. |
| Medium CA + activator | Filling gaps and tacking parts quickly. |
| Epoxy (5 or 30 minute) | Firewalls, motor mounts, landing gear blocks – anywhere you need gap-filling strength. |
| UHU Por or contact cement | Large foam-to-foam surfaces where you need working time. |
| Hot glue | Temporary tacking and quick field repairs. Not structural. |
A caution: activator accelerates CA and produces fumes. Use it sparingly, in a ventilated room, and never spray it onto a joint you are holding with your fingers.
The build sequence
1. Read the manual and dry-fit everything
Dry-fit every part before a single drop of glue. You want to find the part that does not fit now, not after the epoxy has gone off. Sort and identify all the hardware first – most kits include more screws and linkages than your model uses.
2. Install the power system first
Mount the motor, ESC and any internal electronics before closing up the fuselage. It is far easier to route wiring when you can see both ends of it. Secure wires away from pushrods and the antenna, and check that nothing rubs on a spinning motor can.
3. Fit the servos and linkages
Install servos with the output shaft centred – power up the receiver with the transmitter sticks centred before you fit the arms, so the servo settles at its true neutral. Then set up your pushrods so the control surface is neutral when the servo is neutral.
Use the hole in the servo arm and the hole in the control horn that the manual specifies. Getting these right gives you the designed throws and the designed mechanical advantage.
4. Hinges
Work a small drop of foam-safe CA into each hinge line, flex the surface through its full travel a few times to let the glue wick in, then let it cure fully before loading it. Hinges that are stiff or gappy will flutter, and flutter destroys servos.
5. Join the wings and mount the tail
Take your time with alignment. A wing that is slightly out of square makes the model roll or yaw under power, and you will spend every flight chasing it with trim. Measure from wingtip to tail on both sides and adjust until they match.
6. Set the CG
Centre of gravity is not optional. Support the model at the marked CG points and move the battery until it balances – ideally slightly nose-down. Then mark the battery position inside the fuselage so you can put it back in the same place every time.
Pre-flight checks that actually prevent crashes
- Balance check – CG within the recommended range.
- Throw check – measure deflection and confirm it matches the manual.
- Direction check – every surface moves the correct way. Have someone else watch while you move the sticks.
- Secure check – wing bolts, hatch, prop nut, battery strap, and no loose item in the fuselage.
- Voltage check – flight battery fully charged and balanced; transmitter battery healthy.
- Range check – 30-50 m with the motor disabled.
- Failsafe check – confirm the model does what you expect if the link drops. It should cut the motor.
Your first flight
- Fly on a calm day. Anything over about 15 km/h of wind is not a beginner day.
- Take off into the wind, climb to at least two mistakes of height before turning.
- Use low rates and fly gentle, wide circuits.
- Keep the model in front of you. If you lose orientation, roll wings level and climb.
- Land into the wind with a little power on. If the approach is bad, go around – gueSSing a bad approach is how models break.
Start simple
If this all sounds like a lot, start with a ready-to-fly model like the Cadet 1400 RTF, which arrives assembled with everything installed, or a plug-and-play airframe like the Vector 1100, where the power system and servos are already fitted. You will learn far more flying than you will gluing.
Need a hand mid-build?
Send us a photo of the problem area and the model name and we will tell you what we would do. Everything we sell is backed by real spare parts stock, so a broken cowl or a bent gear leg is a two-day problem, not a write-off.